

This blog series looks at the difference between AWS Resource Based Access Control (RBAC) and AWS Attribute Based Access Control. RBAC is the traditional AWS access control method where entity access permissions are granted based on roles/users e.g. a System Admin in your organisation may be granted access to all EC2 instances in an AWS account. ABAC offers a more flexible (and granular) access model that considers attributes of the user, along with resources and environment, to make access decisions. ABAC can be implemented using tags associated with resources. The downside of this approach is that we need to provide additional security to the tags associated with objects. The upside of this approach is that we can use the incoming user attributes from other directories such as Microsoft Entra ID (formerly Microsoft Active Directory) to control access to AWS resources.
In this ABAC tutorial series, I will show you how we can control access to AWS resources by only changing the Microsoft Entra ID user ‘Department’ attribute value in the Azure portal to control access to AWS EC2 instances. There is a bit of work to set up both directories (Azure Entra ID & AWS Identity Center) to communicate with each other. The AWS authentication via Azure Entra ID and Identity Centre is covered in Part 1, and the ABAC is implemented in Part 2.
Tutorial requirements
- Azure Entra ID Setup with two users in a group.
- Azure Entra ID user accounts with department attribute populated (my user Alice is in Department ‘Engineering’ and user Bob is in Department ‘Security’).
- User assigned to a group.
- Azure Entra ID licensing (this is a tricky one, most organisations have a Microsoft bundle that includes the required Azure Entra ID licensing so I’m not going into specifics here but the free version will work with this demo. However, group synchronisation is not available for the free version).
- AWS Account(s).
I imagine the GUI on both sides (AWS and Azure) will change over time so don’t take the screenshots as being gospel. I would advise keeping both providers’ browser tabs open as we flick back and forwards to complete the process. As a backup, if roll-back is required, I would ensure that you have root access or Admin access to your account that does not use the AWS access portal URL i.e. not https://<some guid>.awsapps.com/start.
Implementation Steps
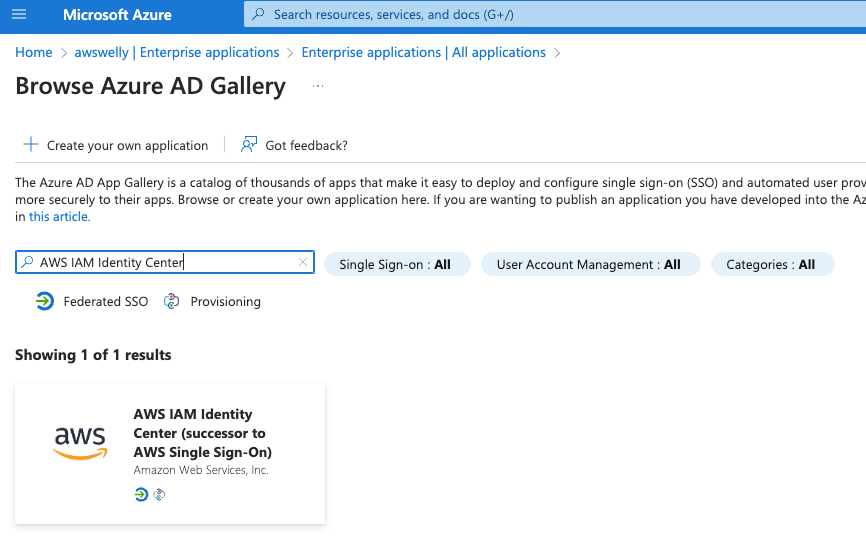
Open an additional browser tab and open the Azure portal. Open the Azure Entra ID service, on the left-hand side select Enterprise Applications then Click on ‘+ New Application”. In the search box enter “AWS IAM identity Centre” and click the tile labelled “AWS IAM Identity Center (successor to AWS Single Sign-on)”.
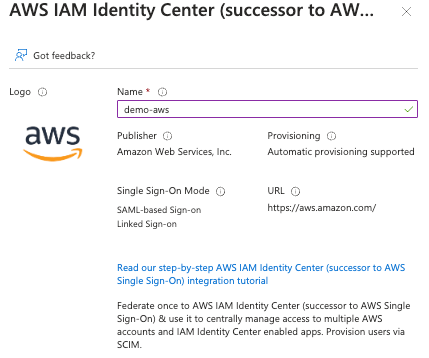
Enter a name for your enterprise application and click the Create button.
While Azure is busy, swap to your AWS console and go to the ‘IAM Identity Center’ > Settings > Identity source > actions > change identity provider.

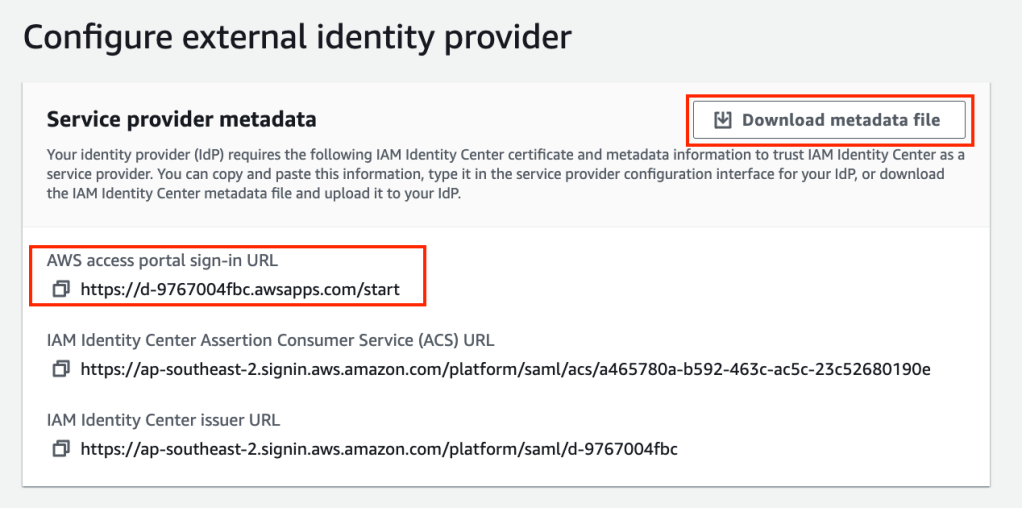
Select ‘External Identity Provider’ and click the Next button.
On the resulting dialogue box, click on the download metadata file and note the AWS access portal-sign-in (note this is referred to as ‘Sign-on URL’ in Azure).
Navigate back to the Azure portal, and click on ‘2 Setup single sign-on get started’.

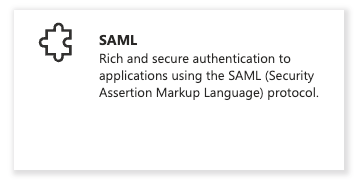
Select SAML as the ‘single sign-on method’.
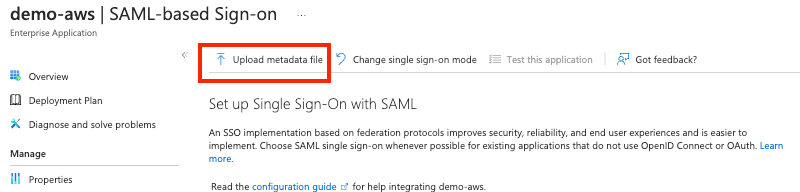
Click the button at the top to ‘Upload metadata file’. Select the file metadata file you downloaded from the AWS console and Click the Add button.
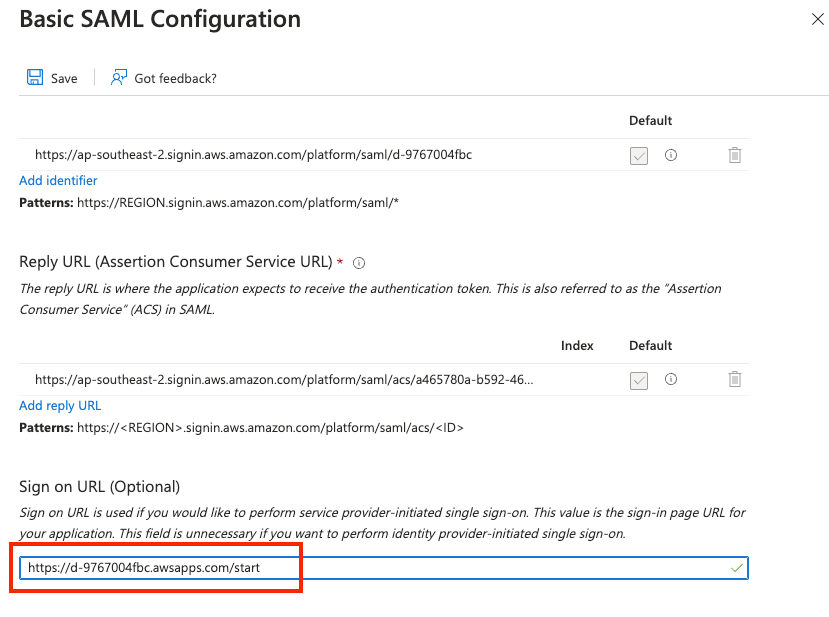
After the metadata file is uploaded successfully, the Basic SAML Configuration dialogue box will open. In the sign-on URL field, enter the sign-on URL copied from the AWS portal earlier. Then click the Save button. Close the Basic SAML Configuration dialogue box to return to the Setup up Single Sign-On with SAML configuration page.
On the Set up Single Sign-on with SAML configuration page, find the SAML Certificates section and click the ‘download’ link for the ‘Federation Metadata XML’ file. The file will be named <name of Azure Entreprise Application>.xml.
In the AWS console, upload the Azure Federation Metadata XML file by clicking the ‘Choose file button’ in the Identity provider metadata IdP SAML metadata section. Click Next if you get a green tick under the IdP SAML metadata section.

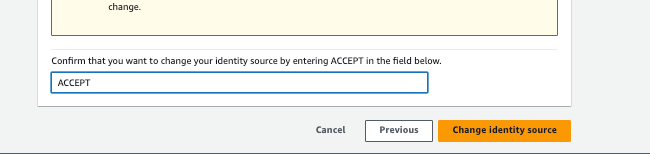
Type “ACCEPT” and click the “Change Indentity Source” button.
In AWS IAM Identity Centre, ‘Enable’ automatic provisioning:

Note the SCIM endpoint and Access Token and click close.
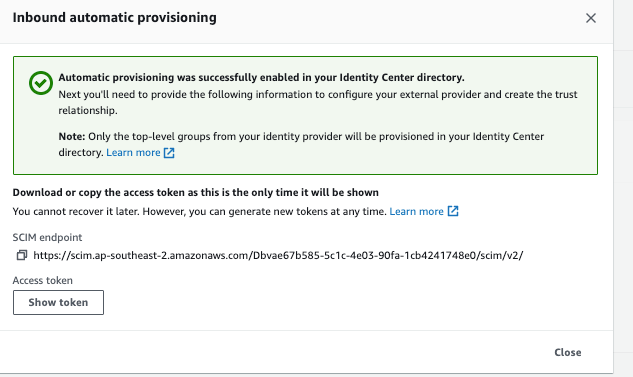
Note: In the Azure portal the access token is referred to as Provisioning ‘admin credentials’.
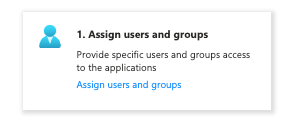
Back on the Azure portal go to your Azure Enterprise Application, and select your application. Select tile “1. Assign users and groups”.
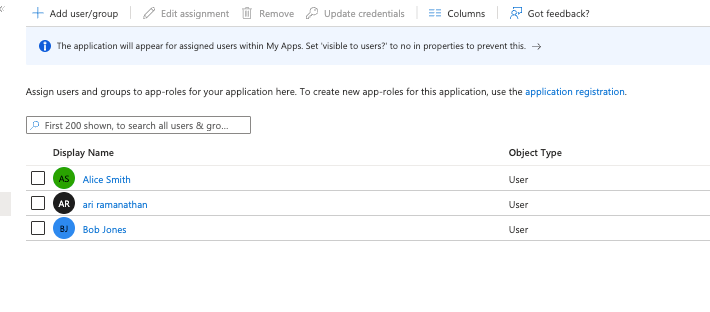
Click on the “+ Add user/group” link and add your users/groups. Note if you’re on the free version of Azure Entra ID, group synchronisation is not available and individual users must be selected. Select the required users and click on the Assign button
Navigate the Provisioning menu on the left-hand side menu and click on ‘Provisioning’. Inside the Provisioning tile, click the ‘Get Started’ button.
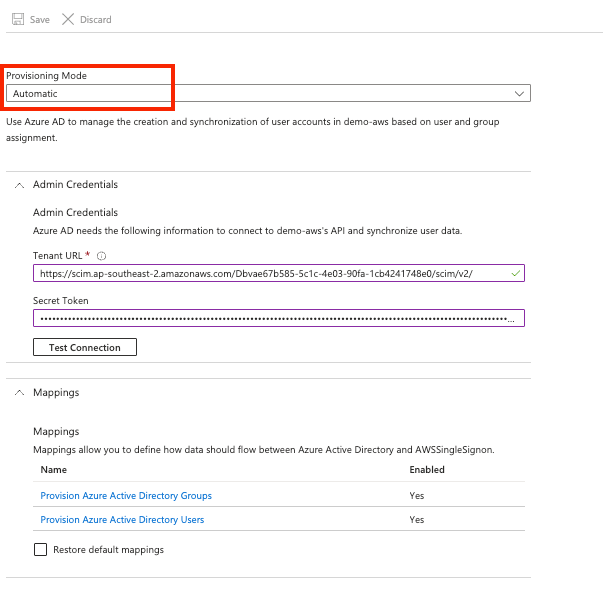
In the Provisioning screen set the provisioning mode to automatic and enter the Admin Credentials from the AWS console.
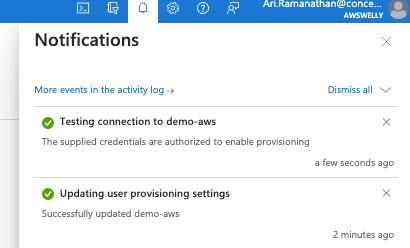
Select the option to test the connection. You will see a note in the Azure notification area confirming the status.
Navigate back to your Azure Enterprise Application > Your app > Provisioning. Click ‘Start Provisioning’.
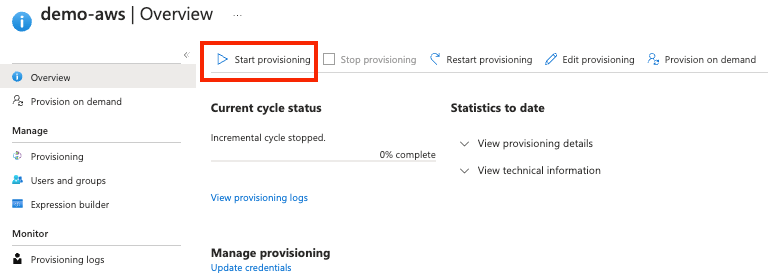
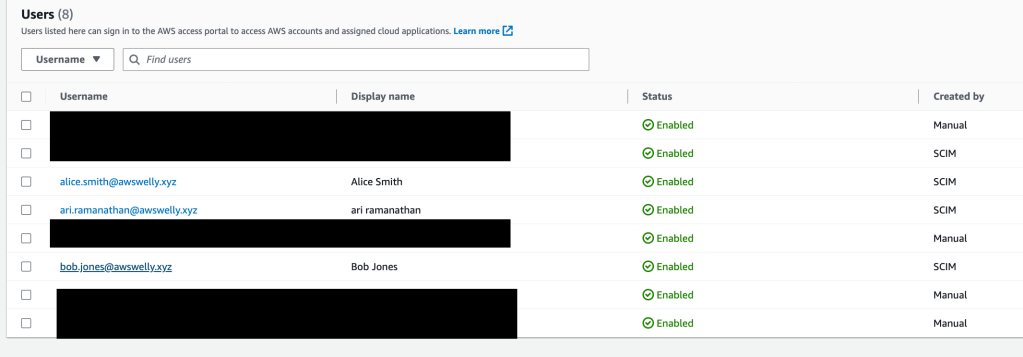
It takes several minutes to synchronise users into your AWS Identity centre. In your AWS account confirm you can see the Azure users via SCIM provisioning.
In the AWS Identity Center, assign your Azure Entra ID users with permission set “AWSReadOnlyAccess” to your AWS account(s). In Part 2, we will change the permissions set with our own custom permissions which restricts access based on resource tags.
At this point, we have a very basic setup allowing the assigned Azure Entra ID users to log on to your AWS infrastructure via the AWS Identity Centre access portal URL. When an Azure Entra ID user logs on, we can use a tool such as Chrome browser extension ‘SAML-tracer’ to inspect the SAML assertions claims being passed onto AWS. In the screenshot below we can view the claims being passed during authentication.
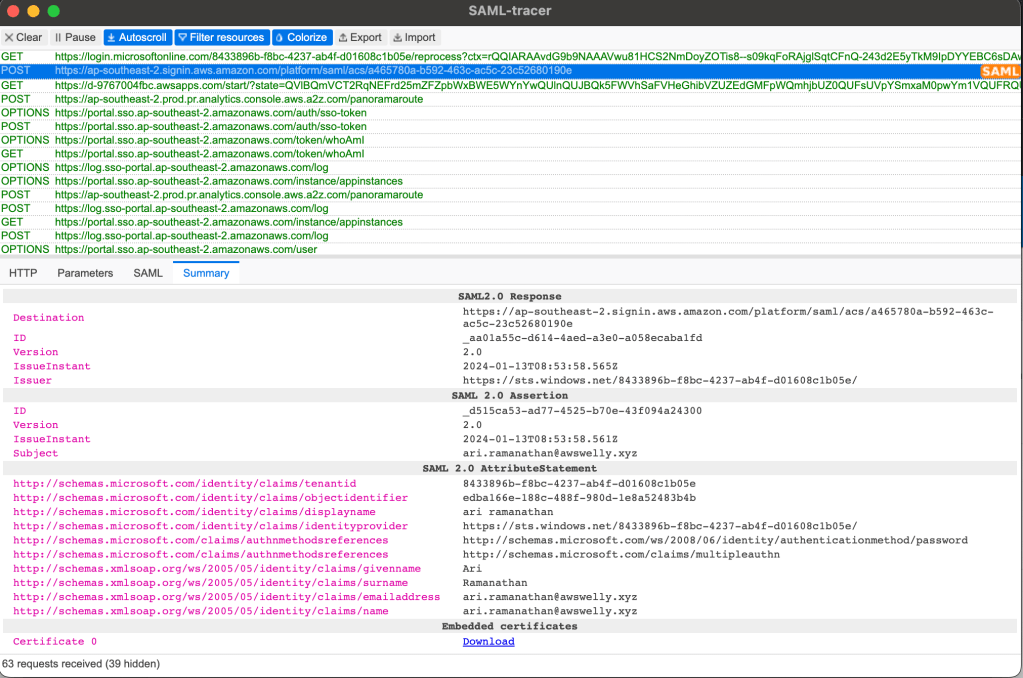
In Part 2, we will enable the Azure Entra ID user department value to be passed through as a SAML claim. This SAML claim value will be mapped to a key value pair in AWS which can then be utilised in our IAM policies.
Part 2 of this tutorial series can be found here (https://devbuildit.com/2024/02/04/abac-for-aws-resource-access-part-2/)
